A chile lover knows
How-To Chile
![]() Prepping Chile
Prepping Chile
![]() Using Chile
Using Chile
![]() Cooking Chile
Cooking Chile
Cooking
Using
Prepping
Prepping Chile

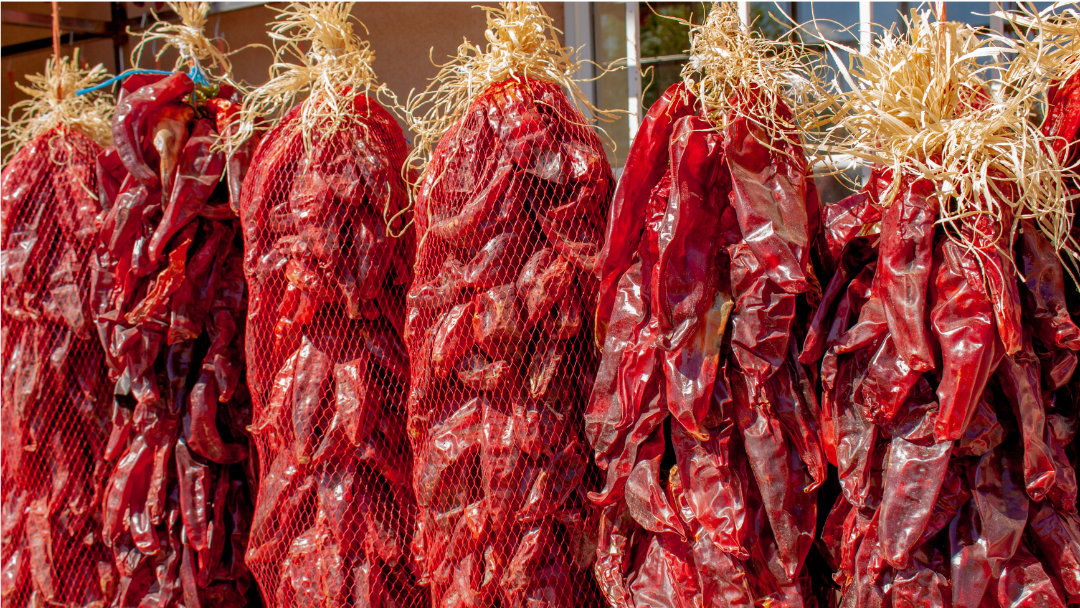
Drying Fresh Chile
Why Dry Chile?
Dried chile peppers offer a good alternative for preservation and use in foods.
Drying Steps
Follow these steps for properly drying Chile:
- Wash chiles
- Flame or broil for 6 to 8 minutes
- Peel and split pods
- Remove seeds and stem
- Dry from 4 to 8 hours
Know When It’s Done
- Green chile should look crisp, brittle, with a medium green color.
- Red chile should look shrunken, dark red, flexible.
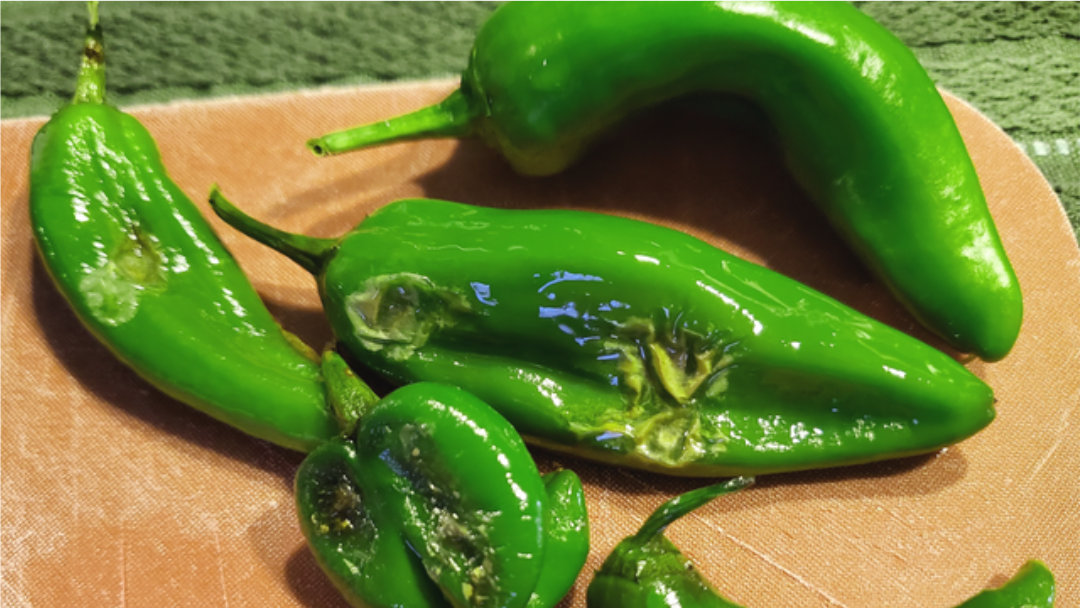
Peeling Fresh Chile
Why Peel Chile?
Peeling the outer skin of chiles provides better texture.
Roast First to Loosen Skins
This is done by roasting chiles for 6-8 minutes through different methods:
- Oven or broiler
- Stovetop method
- Outdoor grill method
- Microwave oven method
Peeling Tips
Peel to Soften Skins
To make peeling easier, place roasted chiles in a microwave-safe or heat-safe covered container or food-grade plastic bag that will trap steam released by the chiles.
Use Gloves
It’s wise to wear gloves when peeling chile, to protect your skin.
Cool or Ice Bath Options
Some people like to put the chiles in an ice bath while peeling.
How to Peel:
Once cooled, the blistered skin will pull off the chile flesh with a gentle tug and an occasional rinse with water.
In areas that did not completely blister, the skin can be removed by scraping with a sharp knife or vegetable peeler.
Another method is to use food safe dishwashing gloves with a nubbly surface and gently rub the peels with gloved hands.
Cooling Roasted Chile
Cool Before You Freeze: Why it Matters
Prevent Bacteria Growth
Cooling roasted chiles is important to prevent bacteria and bad textures in your dishes.
Chill to a Safe Temperature
Packaged chiles should be cooled thoroughly in an ice bath or refrigerator to below 40°F before being frozen.
Avoid Slow Freezing
If chiles are placed in the freezer while still warm and freeze slowly, there is a risk of bacteria growing and becoming dormant during storage.
Protect Your Health
When the chiles are thawed, these bacteria can reactivate and lead to illness.
Storing Fresh Chile
Don’t Wait – Chill Quickly
Roasted chile peppers are typically frozen for storage, and they must be properly chilled and frozen within 2 hours of roasting. When stored in the refrigerator, roasted chiles must be used or frozen within 3 days.
Cool to Food-Safe Temperatures
Packaged chiles should be completely cooled in an ice bath or refrigerator to less than 40°F before freezing.
Freeze Smart for Best Quality
When freezing chile, it is best to use shallow containers for quick cooling. Remove as much air as possible to reduce the amount of surface crystallization.
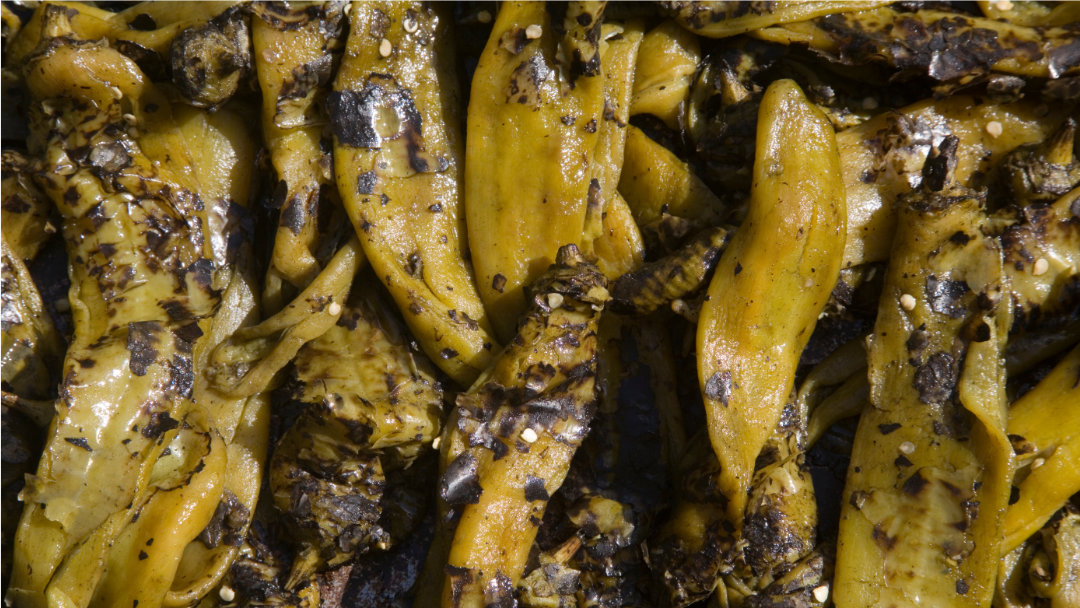
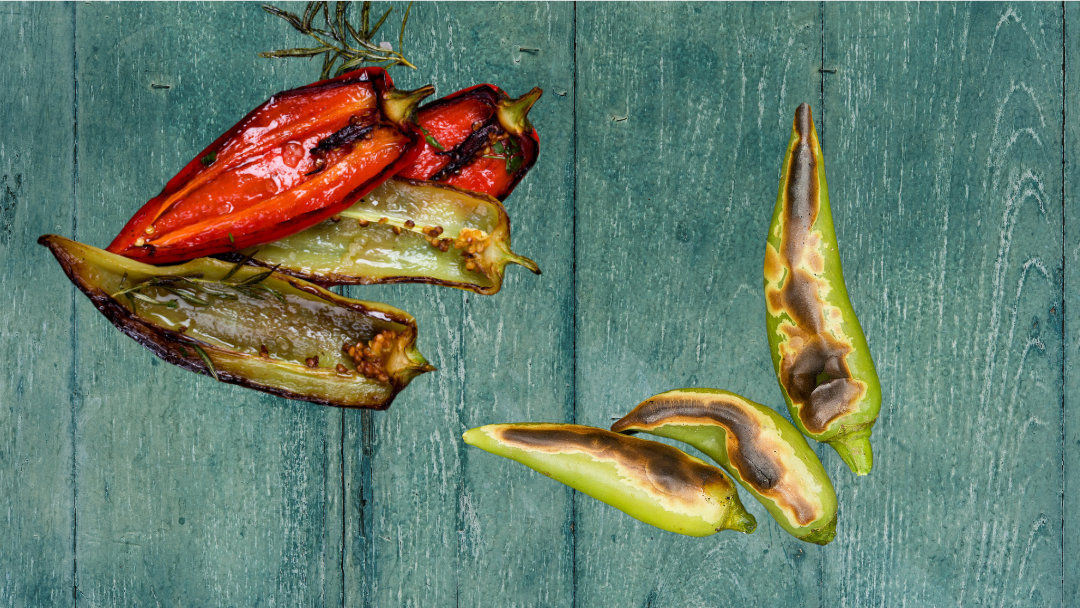
Roasting Fresh Chile
How to Roast Chile at Home
When roasting small batches of chile, you can remove the outer skin from the chile by roasting chiles for 6-8 minutes:
- Oven or broiler: Heat to 400–450°F (205–230°C). Roast chiles on a pan in a single layer.
- Stovetop method: Cover a stovetop burner with a layer of heavy wire mesh. Place chiles on the hot electric or gas burner.
- Outdoor grill method: Place chiles 5–6 inches above glowing coals, or in a gas grill heated to 400–450°F (205–230°C).
- Microwave oven method: Place chiles in a microwave-safe dish; cover with a secure, air-tight lid to allow for steam buildup. Microwave for 7–8 minutes, depending on the oven wattage and power level.
Commercial roasters
Often found at grocery stores, farmers’ markets, or wherever chile is sold, roasters provide a convenient way to roast large quantities of chiles.
When purchasing freshly roasted chiles, be sure to use a food-safe container, such as a large roasting pan or pillowcase, to gather them. Transport the chiles home in a chilled ice chest. Transfer them into smaller containers as quickly as possible. Remember to freeze or refrigerate the roasted chiles within two hours of roasting. Divide chile into packages no more than 2 in deep.

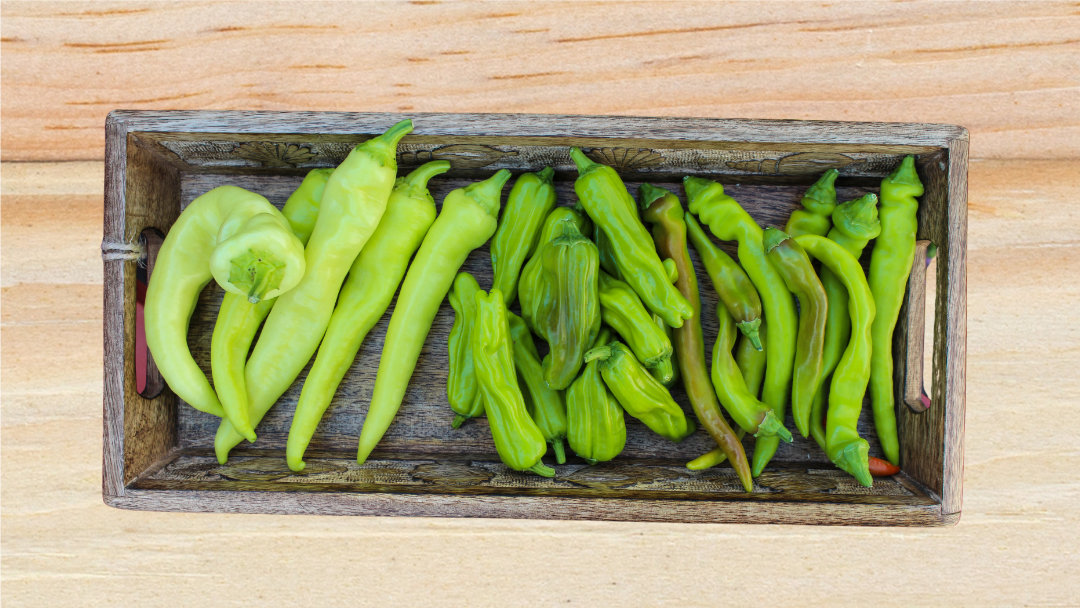
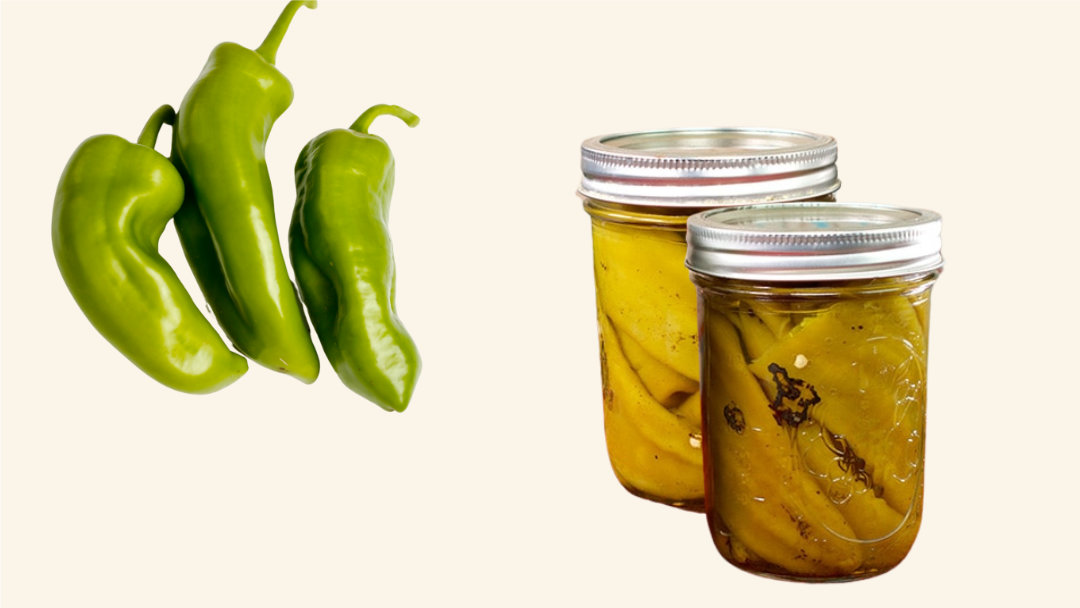
Selecting Fresh Chile
When choosing chile pods, you want to pick chile that is:
- Mature
- Heavy for its size
- Smooth
- Symmetrical
- Bright in color
- Fresh
- Crisp
Avoid misshapen or damaged pods, shriveled skin, mold, soft spots, and bruises.
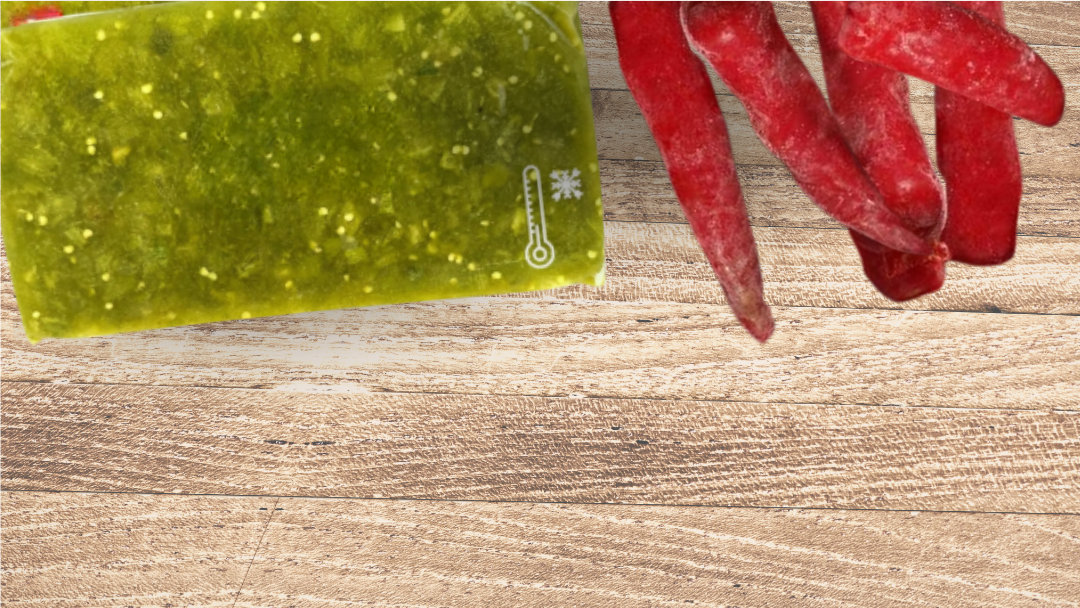
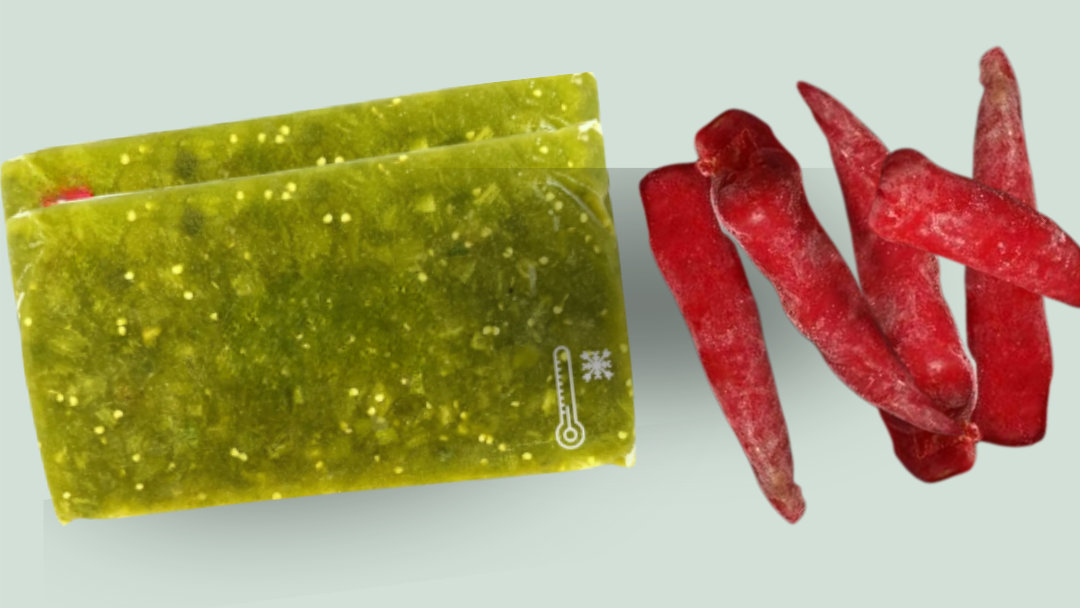
Freezing Fresh Chile
Freezing chile is an excellent way to maintain its quality.
To Peel or Not to Peel?
- Whole chiles can be frozen unpeeled – they are easier to peel after freezing.
- Or, you can peel them before freezing, for easier meal prep.
Chill Before You Freeze
- Roasted chiles should be used or frozen within three days of being stored in the refrigerator.
- Roasted chiles need to be packed in a food safe container and cooled completely (to below 40°F) in an ice bath or refrigerator before freezing. This helps prevent the growth of bacteria during storage.
Pack it Right
- Pack chile for freezing in containers no deeper than 2 inches. (Home freezers cannot efficiently and quickly remove heat from food placed in deeper containers. If storage packages are too large, chiles will freeze slowly, resulting in a mushy texture as ice crystals form in the chile flesh.)
- Consider freezing chopped chile in smaller portions for quick addition to a meal.
Storage Tips
- Chiles can be stored safely in the freezer for up to 12 months.
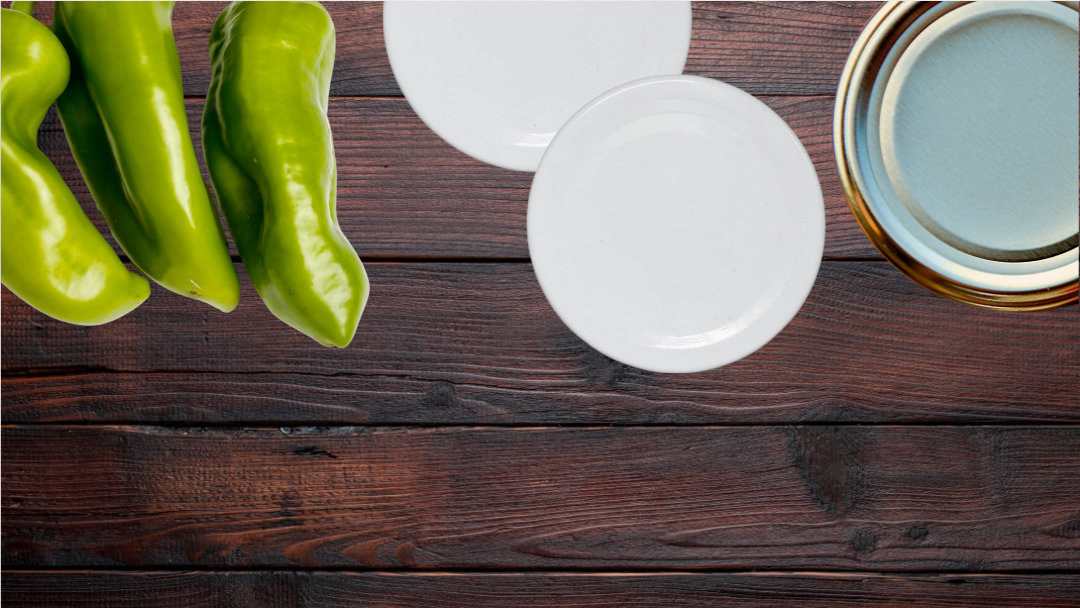
Canning Fresh Chile
Tradition in a Jar: How to Preserve Chile Without a Fridge
Canning is an old but efficient method to preserve foods for a long time without refrigeration.
Use regular or wide-mouth Mason jars with self-sealing lids held in place by screw-on metal bands. Lids must be new and unused.
Step 1: Inspect and Sanitize Your Jars
Inspect jars carefully for cracks or chips, and discard faulty ones. Wash jars in hot, soapy water and rinse thoroughly or clean using a dishwasher. Do not use lids that are missing any gasket compound, dented, deformed, or older than five years from their date of manufacture.
Step 2: Prep and Pack Your Chile
To prep chile, remove skins, stems, and seeds. Chiles can be cut in pieces or left whole.
Step 3: Add Boiling Water and Seal
Pack chiles loosely and add enough boiling water to each jar to completely cover chiles.
For successful pressure canning:
- Add 2 to 3 inches of hot water and place jars upright on the rack.
- Keep the vent port open; heat on high until steam flows.
- Exhaust steam for 10 minutes; then close the vent or add weight.
- Start timing at the recommended pressure or when the gauge shows pressurizing.
- Regulate heat to maintain steady pressure, avoiding quick variations to prevent liquid loss. Follow the manufacturer’s instructions for maintaining desired pressure.
- After the timed process, turn off the heat and allow the canner to depressurize without forced cooling. Older models should be depressurized for 30 minutes (pints) or 45 minutes (quarts).
- Once depressurized, remove the weight or open the petcock, wait 10 minutes, and carefully unfasten the lid, lifting it away from your face.
- Use a jar lifter to remove jars, placing them on a towel with at least 1 inch of space between them to cool undisturbed for 12 to 24 hours.
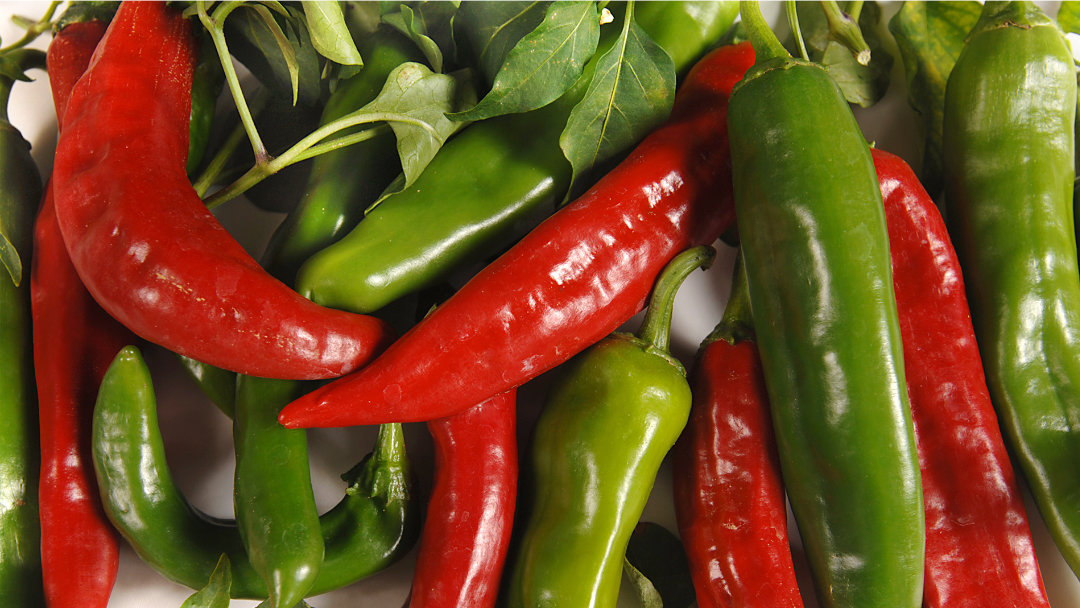
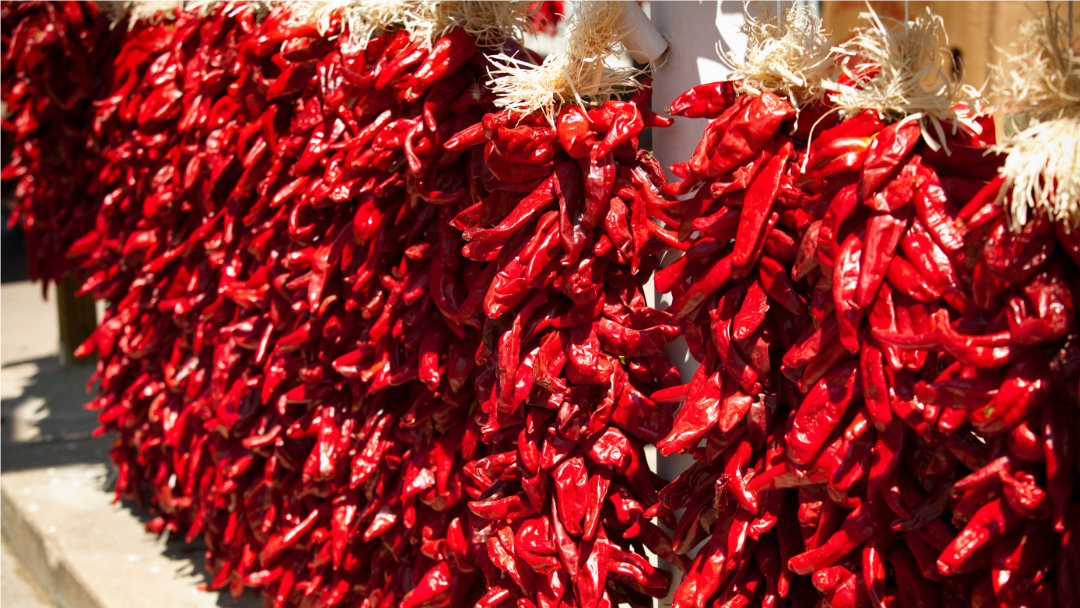
Chile: Red or Green?
Before your next trip to the grocery store for Chile, remember the differences between red and green:
Green Chile
- Usually sold fresh, or freshly roasted.
- Lower in acidity.
- Fresh green Chile may turn red as it matures.
Red Chile
- Often sold in dried form.
- Sweeter, with increased heat (more capsaicin).
Using Chile

Using Frozen Chile
- Freezing Extends the usefulness of green Chile for up to a year.
- For best flavor and texture, freeze Chile as soon as possible. (After first cooling it.)
- Cooking without thawing will take 50% longer.
Using Canned Chile
- Canned chiles are great for salsas and sauces.
- Use them in casseroles, soups, or as a topping for nachos.
- Low acidity of green chiles adds a zesty and bright flavor to any dish.
Using Dried Chile
- Grind the dry Chile into powder and use it in seasoning mixes.
- Reconstitute and make delicious meals. Add to soup or stews.
- Ship packages to family and friends for half the cost.
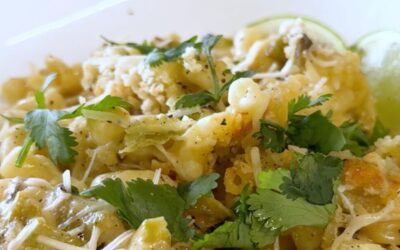
Cooking Chile


New Mexico Green Chile Breakfast Burrito
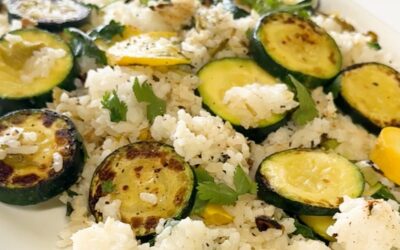
New Mexico Green Chile & Summer Squash Rice

New Mexico Green Chile Egg Bites
New Mexico Green Chile Mac & Cheese
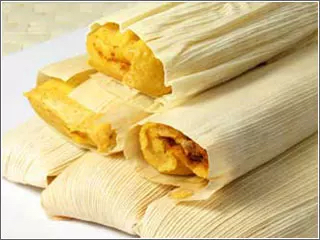
Pork and Red Chile Tamales
Courtesy of ABQ Cuisine Expert and Chile Lover Gwyneth Doland
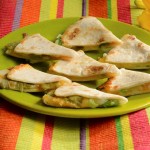
NM Hatch Green Chile Southwest Harvest Quesadillas
Courtesy of Bueno Foods

Green Chile Chicken Stew
Courtesy of El Pinto Restaurant and Cantina
Green Chile Sauce
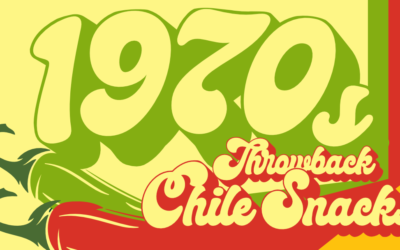
Source: Green Chile Recipe Fiesta. 1973. New Mexico State University
Chile Puffs
Source: Green Chile Recipe Fiesta. 1973. New Mexico State University
Peppy Pecan Balls
Source: Green Chile Recipe Fiesta. 1973. New Mexico State University
Chile Log
Source: Green Chile Recipe Fiesta. 1973. New Mexico State University.
Chil-Eat-Zas
Source: Green Chile Recipe Fiesta. 1973. New Mexico State University

NM Hatch Green Chile Grilled Chicken fajitas
The New Mexican take on chicken fajitas.