Tradition in a Jar: How to Preserve Chile Without a Fridge
Canning is an old but efficient method to preserve foods for a long time without refrigeration.
Use regular or wide-mouth Mason jars with self-sealing lids held in place by screw-on metal bands. Lids must be new and unused.
Step 1: Inspect and Sanitize Your Jars
Inspect jars carefully for cracks or chips, and discard faulty ones. Wash jars in hot, soapy water and rinse thoroughly or clean using a dishwasher. Do not use lids that are missing any gasket compound, dented, deformed, or older than five years from their date of manufacture.
Step 2: Prep and Pack Your Chile
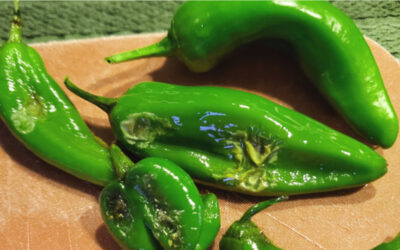
To prep chile, remove skins, stems, and seeds. Chiles can be cut in pieces or left whole.
Step 3: Add Boiling Water and Seal
Pack chiles loosely and add enough boiling water to each jar to completely cover chiles.
For successful pressure canning:
- Add 2 to 3 inches of hot water and place jars upright on the rack.
- Keep the vent port open; heat on high until steam flows.
- Exhaust steam for 10 minutes; then close the vent or add weight.
- Start timing at the recommended pressure or when the gauge shows pressurizing.
- Regulate heat to maintain steady pressure, avoiding quick variations to prevent liquid loss. Follow the manufacturer’s instructions for maintaining desired pressure.
- After the timed process, turn off the heat and allow the canner to depressurize without forced cooling. Older models should be depressurized for 30 minutes (pints) or 45 minutes (quarts).
- Once depressurized, remove the weight or open the petcock, wait 10 minutes, and carefully unfasten the lid, lifting it away from your face.
- Use a jar lifter to remove jars, placing them on a towel with at least 1 inch of space between them to cool undisturbed for 12 to 24 hours.